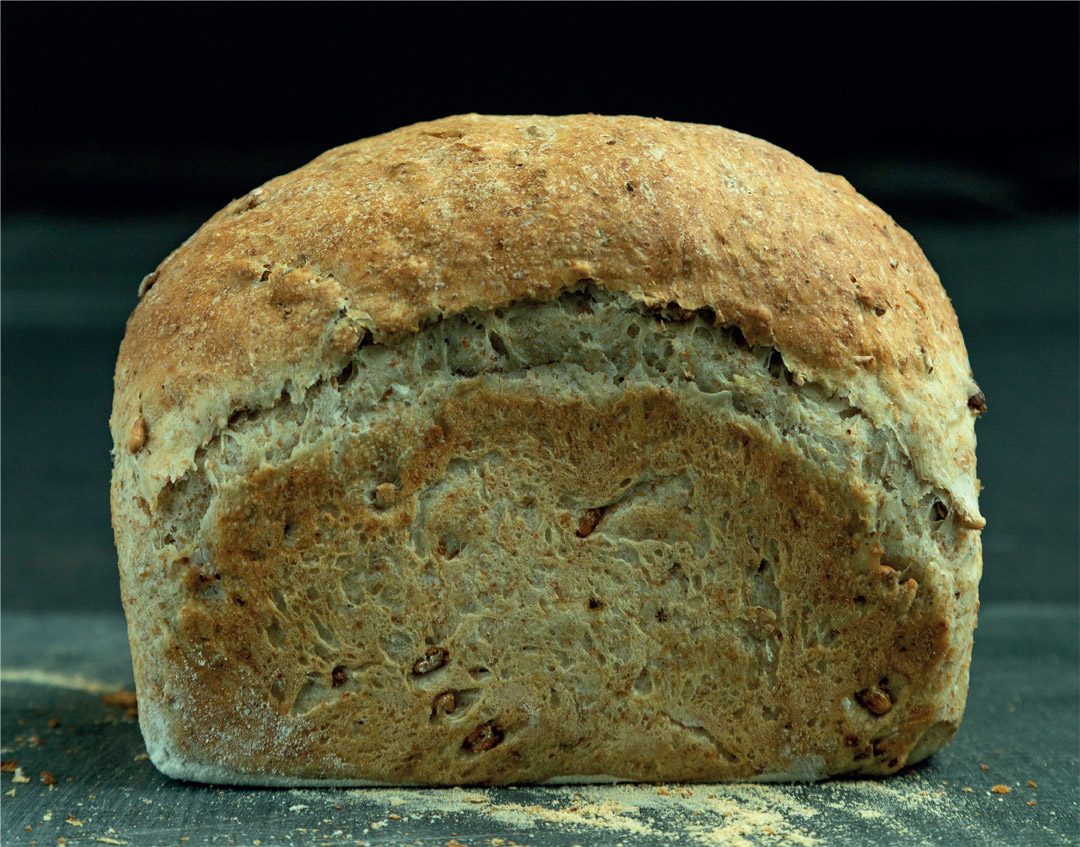
Serving: 1 Large Batch
There’s nothing quite like making your own bread. The whole process is restorative, calming, pleasingly hard work and I’ve yet to meet anyone who doesn’t love the smell of bread as it bakes and the taste of it fresh from the oven.
One of the main reasons for the design of MacLean House is that the kitchen is the heart of the home. The vision of fresh food being cooked in an area that the residents could recognize see and smell was vital to the ethos of the whole home.

Ingredients
1 ¾ cups White bread flour
1 ¾ cups Granary bread flour
½ oz Salt
1 tsp Sugar
2 ¼ tsp Sachet of instant yeast
1 ¼ cup Water, warm at 98°F
1 oz Butter
Instructions
- Sieve the salt and two flours together into a large bowl. You will find that you are left with all the good bits from the granary flour in the sieve. Pop those bits into the mix as well. The main purpose of sieving the flours is to aerate and mix properly.
- Next measure your water. The best way to get the measurement correct and the temperature of 98°F is to sort the temperature first. In a jug add hot and cold water to get it full of water to baby bottle temperature. The reason you need water at this temperature is that the yeast reacts much quicker at body temperature.
- Now you can measure the water. I find using scales as opposed to a measuring jug is much more accurate.
- Now add the yeast and the sugar to the water. The sugar in the mix gives the yeast a real boost and helps activate it a little quicker.
- Rub the butter into the flours mix.
- Next make a little well in the centre of the flour and add the water mix. Using a spoon mix the ingredients together until you get a rough dough.
- Dust your work surface with some flour and then tip the dough out and start to knead the dough. You might have to add a little more flour as you go.
- Knead the dough until it starts to bounce back when pressed.
- Place the dough back into your bowl and cover tightly with cling film.
- The next stage is to allow the dough to rest. You want the dough to double or triple in size, which could take an hour or so depending on how warm your kitchen is.
- Preheat your oven to 400°F.
- Once the bread has doubled in size remove it from the bowl and ‘knock back’. This is the same as kneading – and once you have knocked out all the air you can shape your bread.
- You have plenty of options on shape and size. You could use the whole dough to shape into a bloomer, or break it into smaller dinner rolls. You could even bake in a clean ceramic flowerpot. It’s entirely up to you.
- Once you have shaped your dough you now need to prove the bread. This simply means that you cover the shaped bread – with a clean plastic bag or cloth – and leave it to rise before you bake it.
- The bread should again double in size. Don’t be tempted to put the bread in the oven too early, as you will end up with very heavy bread.
- Cooking times vary with size. Try 45 to 50 minutes for a bloomer and 15 to 20 minutes for small loaves.
- Once the bread is golden, take it out the oven and let it sit for 5 to 10 minutes. Then take out of the tin and leave to cool on a wire rack.
Notes
Fresh bread won’t keep too long as it doesn’t have the preservatives that factory made bread has. It is better cooked cooled and eaten. If you have leftovers the next day the bread will toast great. Bread is not as difficult as you might think and if you have the time its worth giving it a go there is loads of satisfaction in making bread and the difference between that and shop bought in terms of flavor and health is unbelievable.
